Custom Fields🔗
Custom fields allow to attach user defined metadata to items. For example, you may want to track the amount of each receipt or the invoice number etc. You can define fields that can be associated to your items, much like organizations and person.
Custom fields can be deactivated in the user settings.
Create custom fields🔗
Go to the Manage Data page, that can be reached from the top right menu. One entry at the left shows Custom Fields:
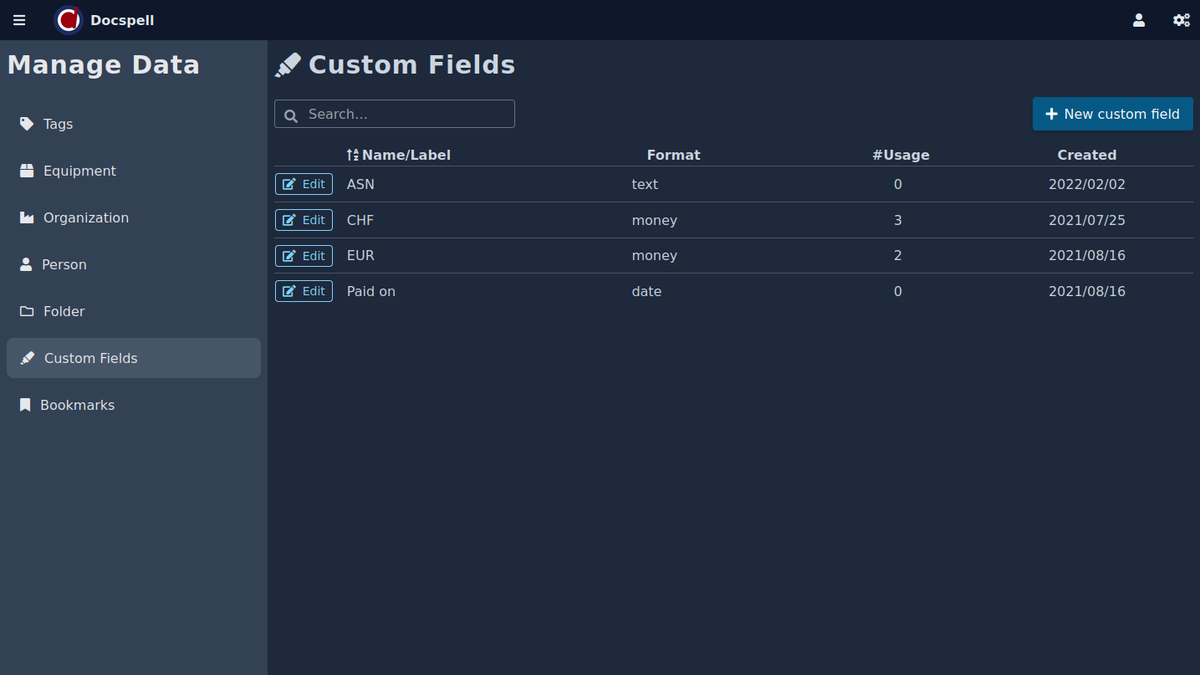
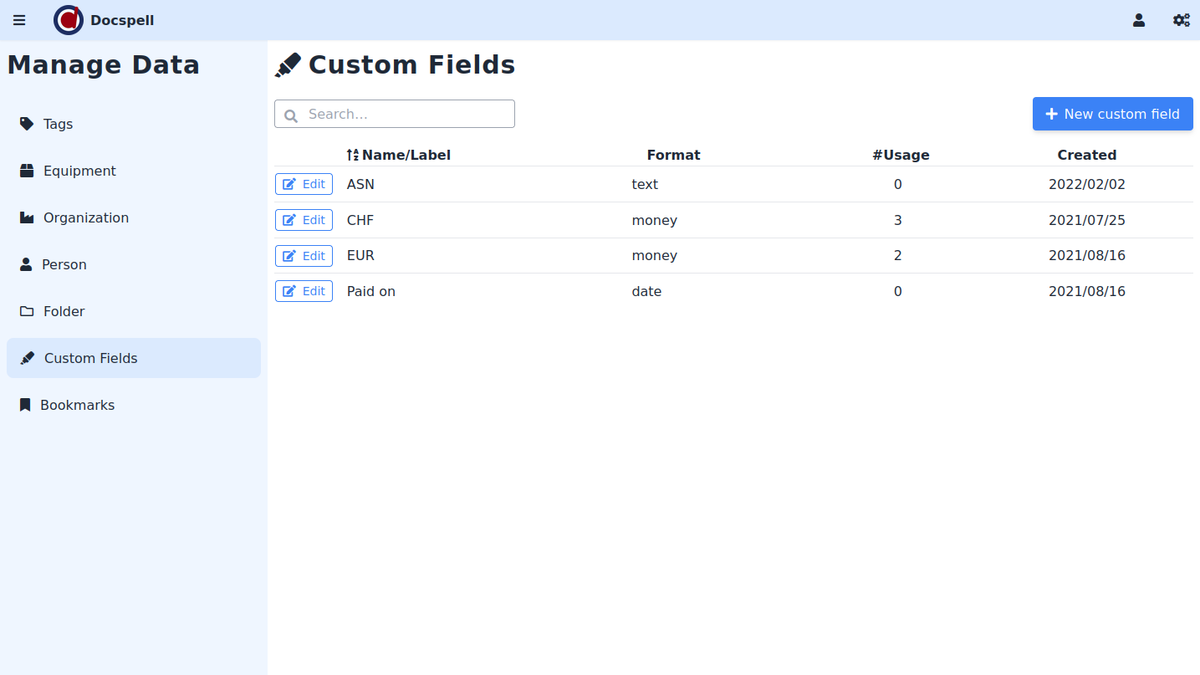
Fields are defined per collective. They can also be created in the
item edit menu (just like creating organizations). The #Usage
columns show how many items have a value for this field.
A field consists of a name, a format and optional a label:
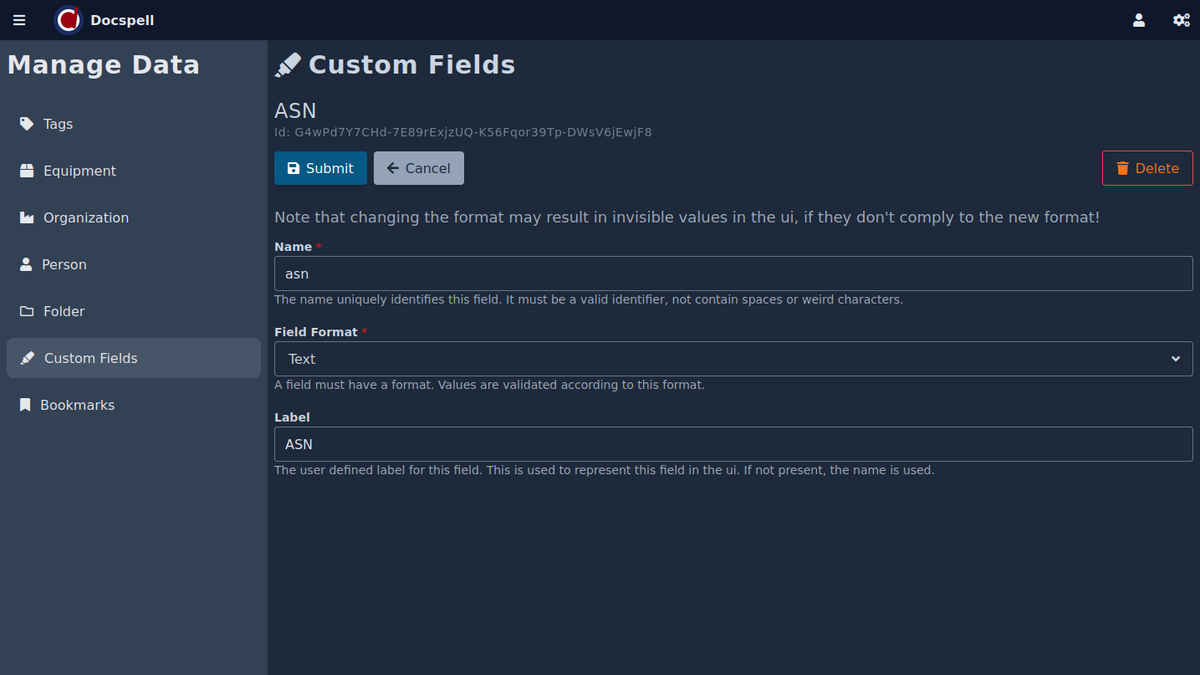
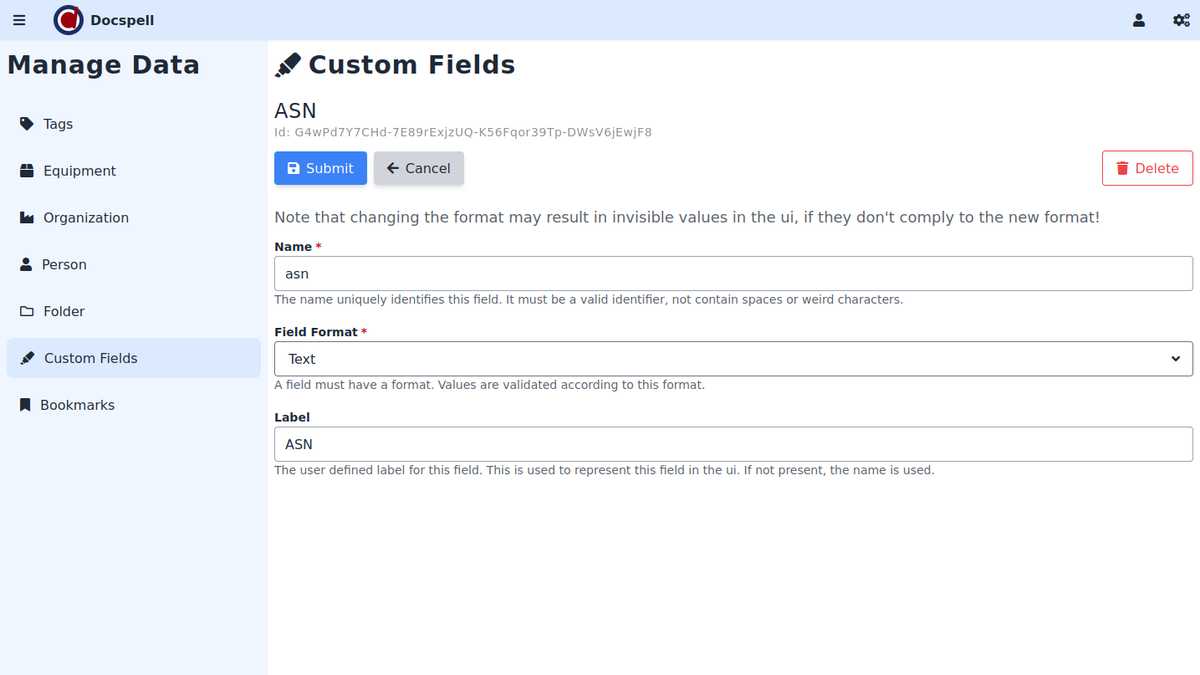
The name and format is required. The name must be unique among all your fields and it is special in that it must be a valid identifier: no whitespace or weird characters allowed (ascii only). For displaying purposes you can set a label. This is only used for presenting and can contain unicode symbols, whitespace etc. If it is omitted, the name is used instead.
Field Format🔗
Values of all fields are stored as strings. The format is important as this is used to make certain decisions. It restricts what values can be set for a field, it is used for deciding how to present values to the user and to choose an appropriate input method. There are 5 formats provided:
Number: valid decimal numbers, use a dot to separate a fractional part. Examples:1,25.9001,0.1Money: same as Number, but requires a fractional part of exactly two digits. Examples:19.99,20.01Text: some arbitrary text.Boolean: onlytrueorfalse, a checkbox is used for setting valuesDate: a local date in ISO format. Examples:2019-09-18,2020-11-01
Note on changing the format🔗
The format of a field can be changed. This has implications to already
stored values which may now not comply to the new format, for example,
when changing a Text field into a Date field. In this case, the
webui shows no value or shows an error, asking to provide a correct
one. Existing values are not lost or tried to convert automatically.
You can change the format back to Text to restore the previous
state.
Add values🔗
Values for custom fields can be set in the item edit form or when editing multiple items. There is a dropdown to select from existing fields.
Use the dropdown to select which field you want to use. The corresponding input field is shown asking for values. You can select multiple fields. Only one value is allowed to set per item and field. The example below shows a text field and a money field:
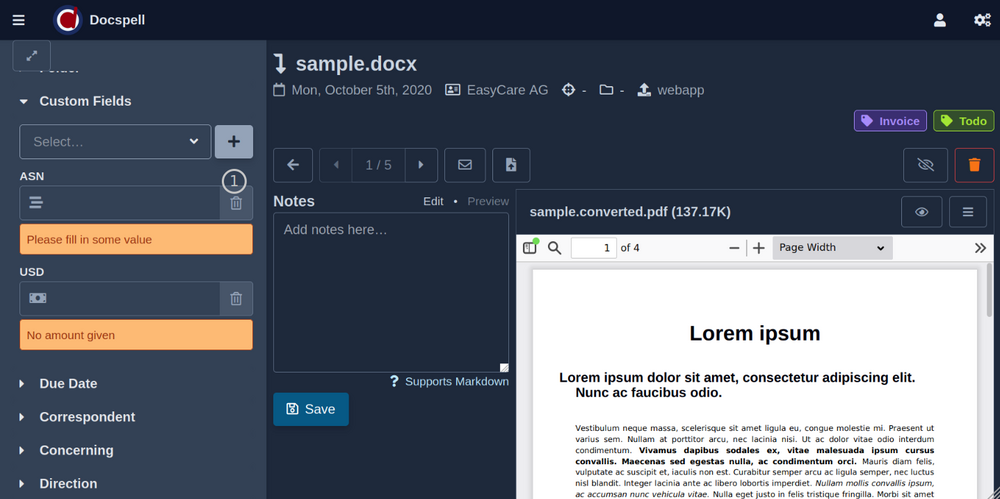
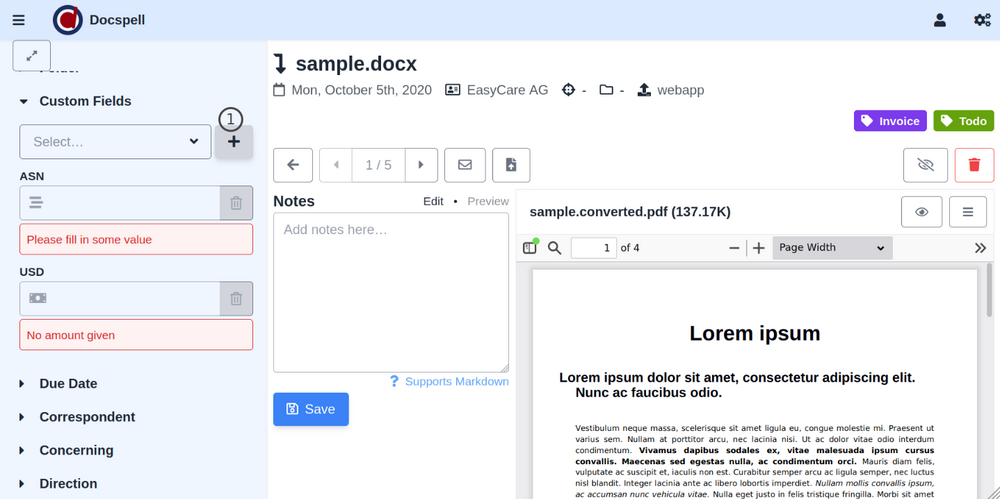
You can create new fields right here without going to the Manage Data page, by clicking the plus icon (1). The format of each field is indicated by an icon on the left of the input.
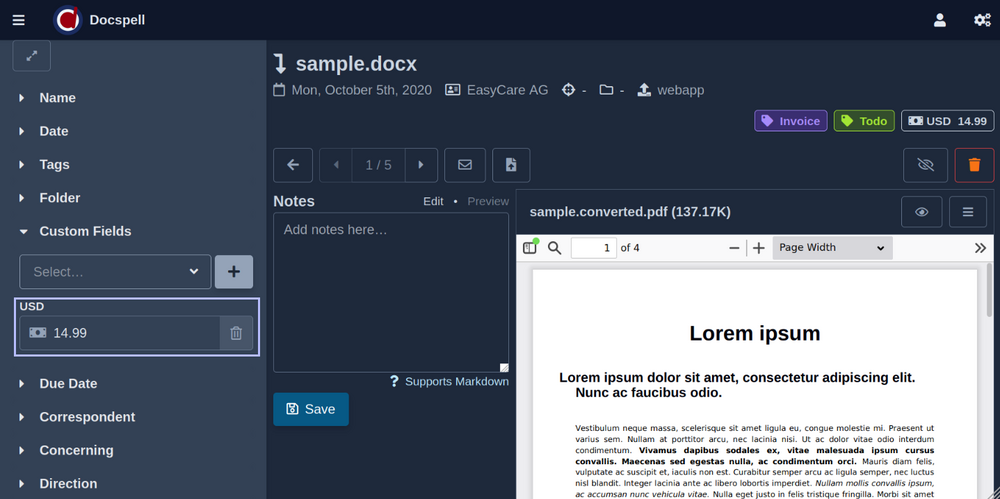
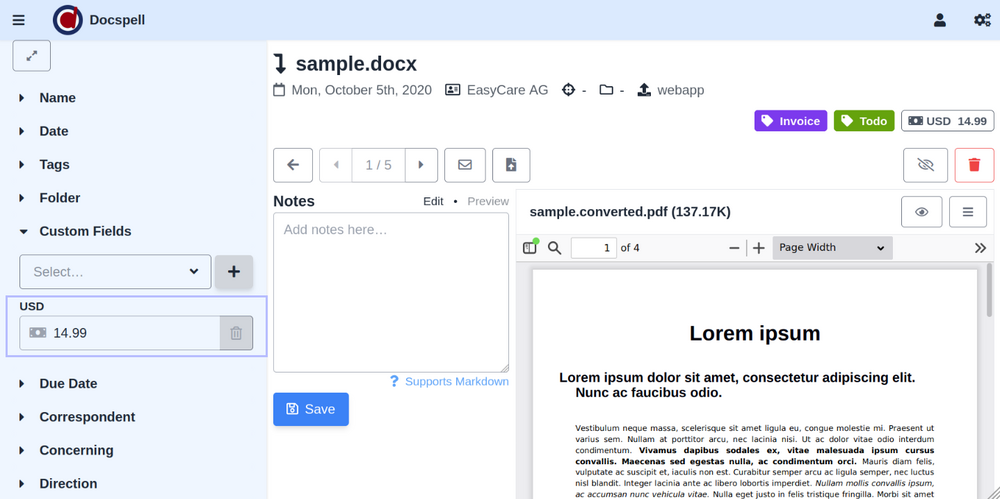
As soon as a correct value is typed in, it is saved to the item and shown in the header next to the tags. If you click the trash-can icon next to an input, the value is removed from the item.
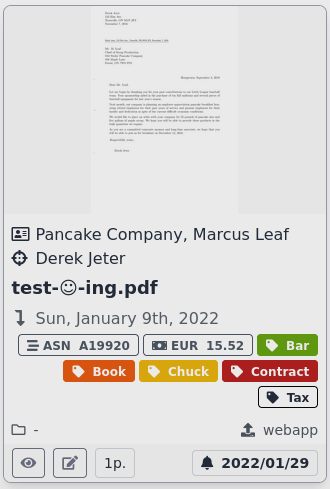
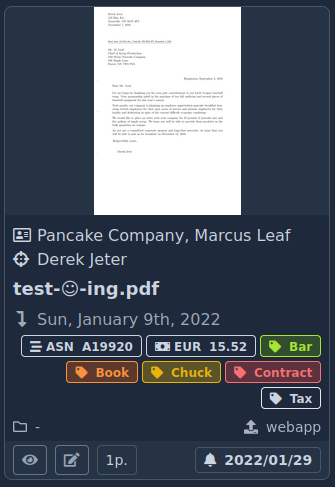
The item card also shows custom fields, in the same place as tags:
Adding values for custom fields in multi-edit mode works the same way.
Search🔗
The search menu shows the same dropdown for selecting a custom field. Then you can set values that are matched against your items.
Values are also validated in the search form. Only valid values are sent to the server for searching. There is one exception: you can use a wildcard at beginning and/or end to do a substring match:
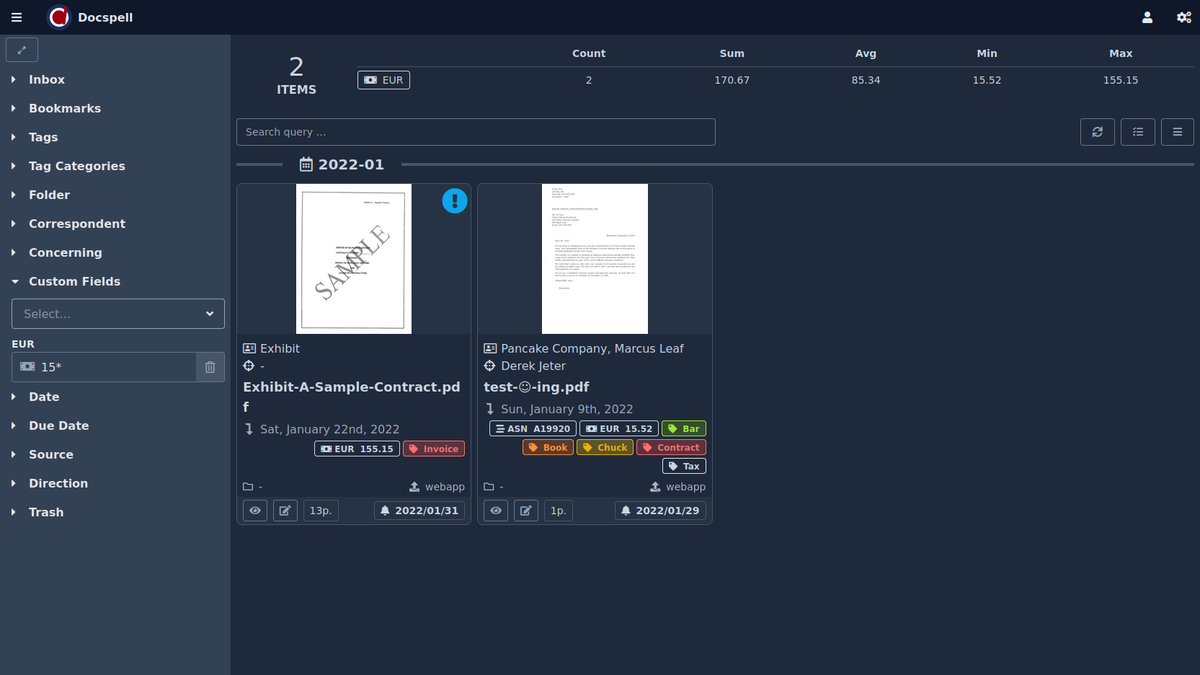
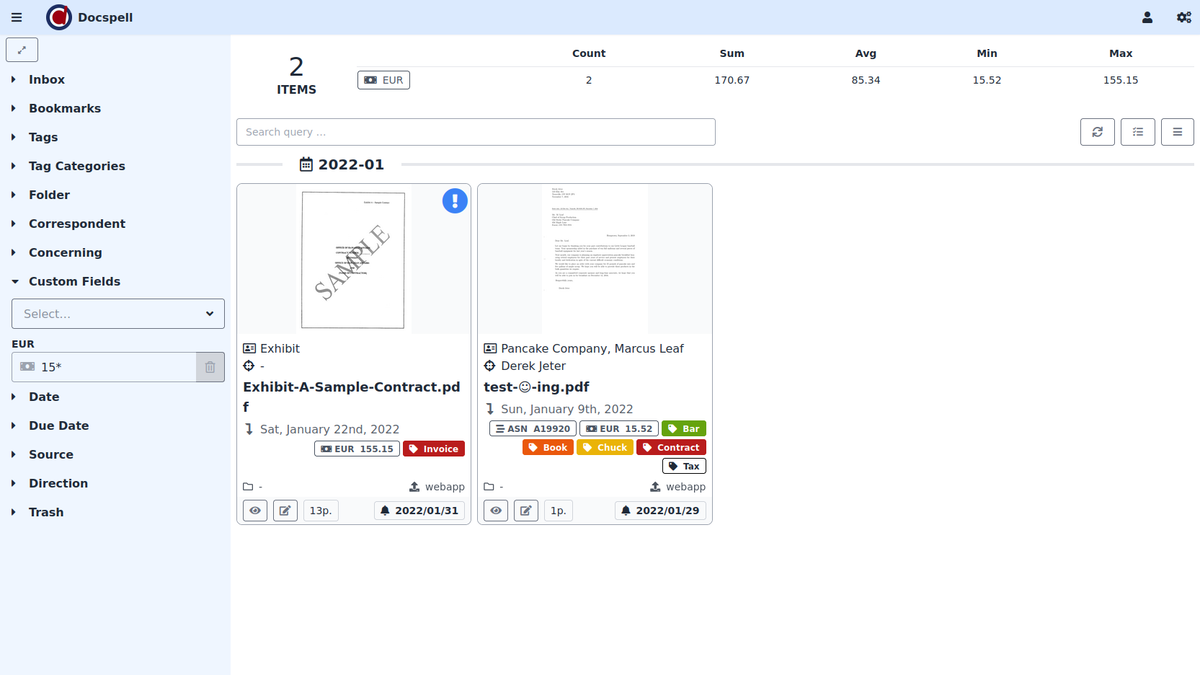
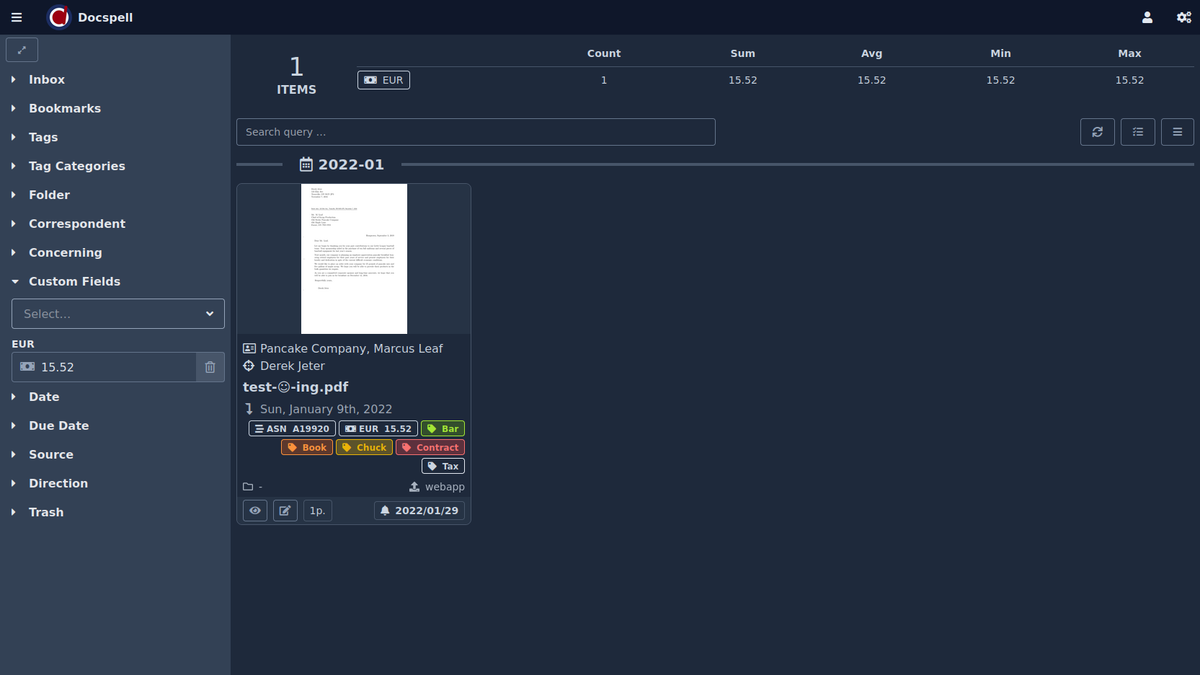
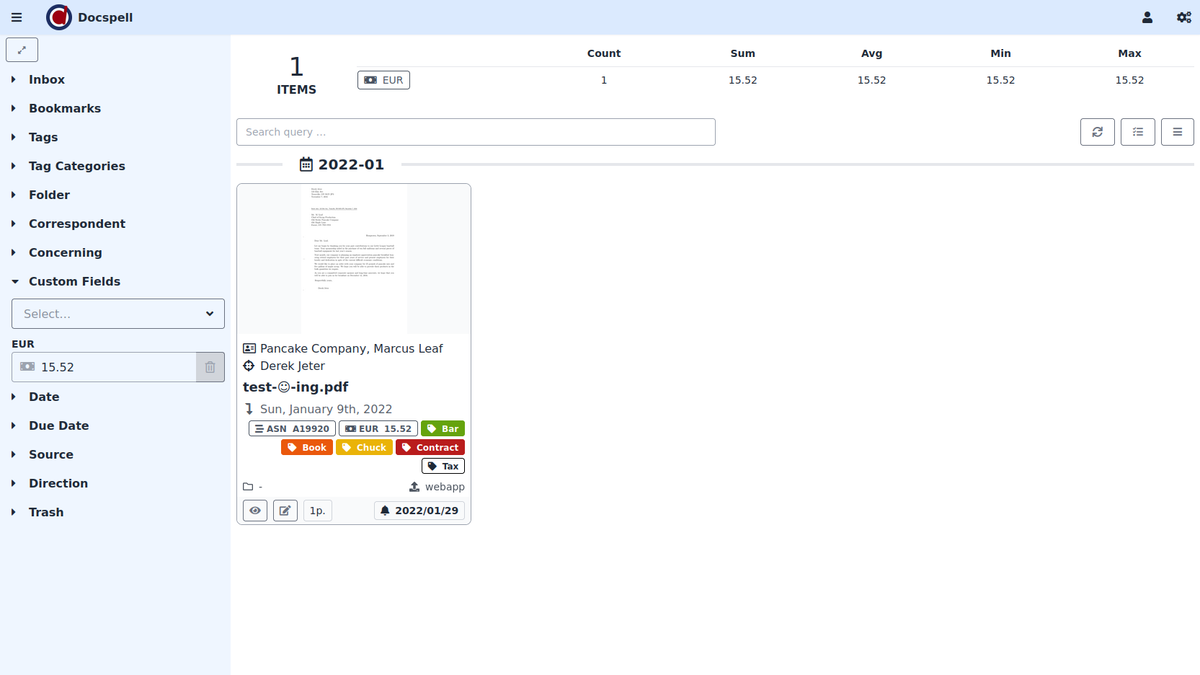
For all numeric and money values, a little summary is displayed next to the overall item count at the top of the page.
A wildcard can be used with all fields. Just be aware that this is
always text-based matching. Using a single * allows to find items
that have any value set.